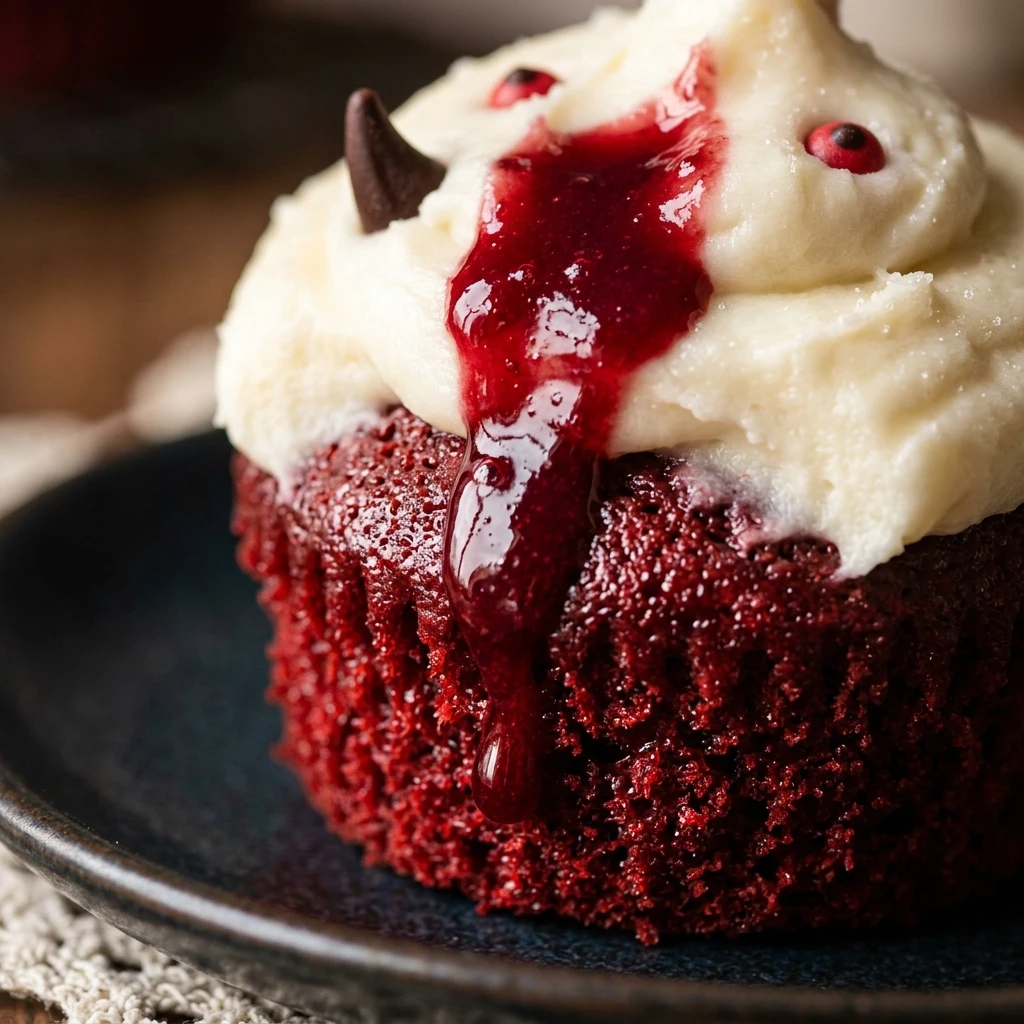

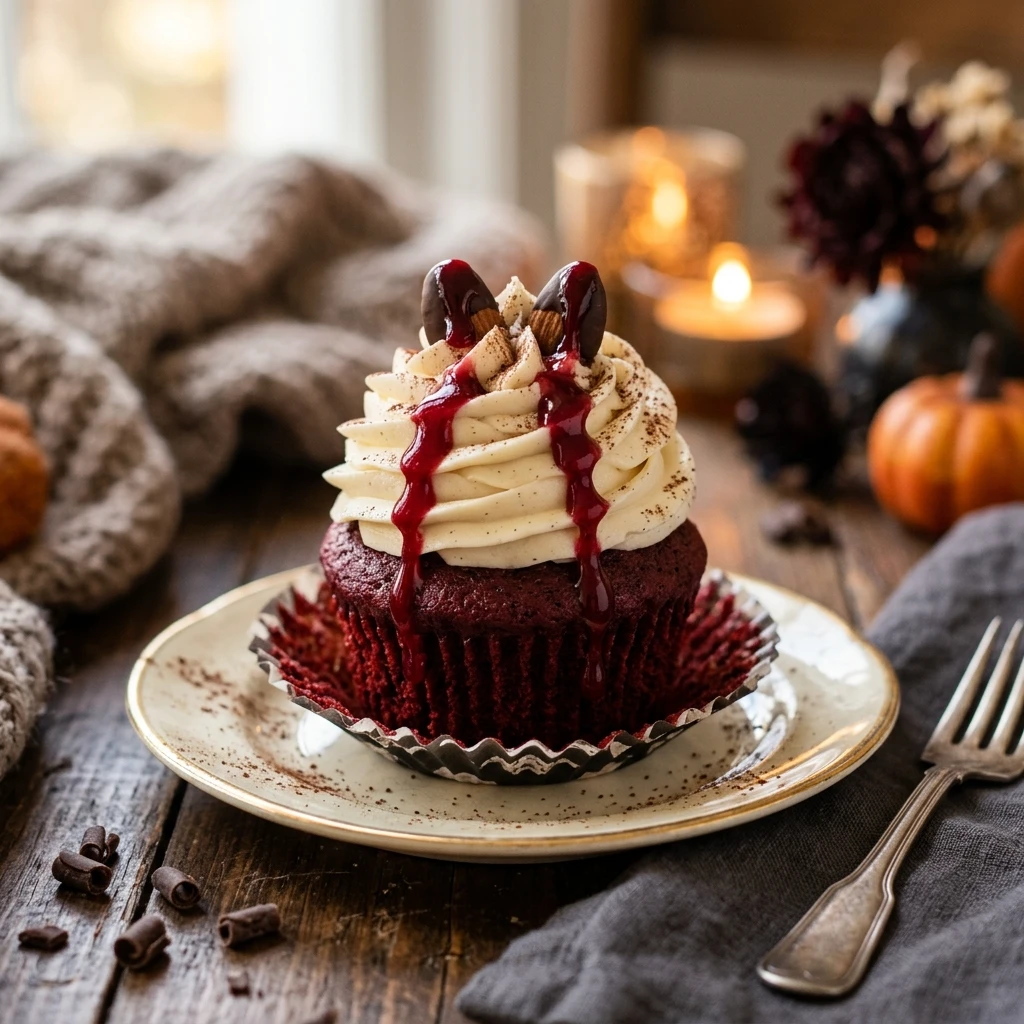
Halloween is the perfect time to get creative in the kitchen, and nothing says spooky quite like these Red Velvet Vampire Cupcakes. With their deep crimson hue and a surprising “bleeding” center, these treats are sure to be the star of any October gathering. They combine the classic, velvety texture of traditional cocoa-infused cake with a playful, macabre twist that delights both kids and adults.
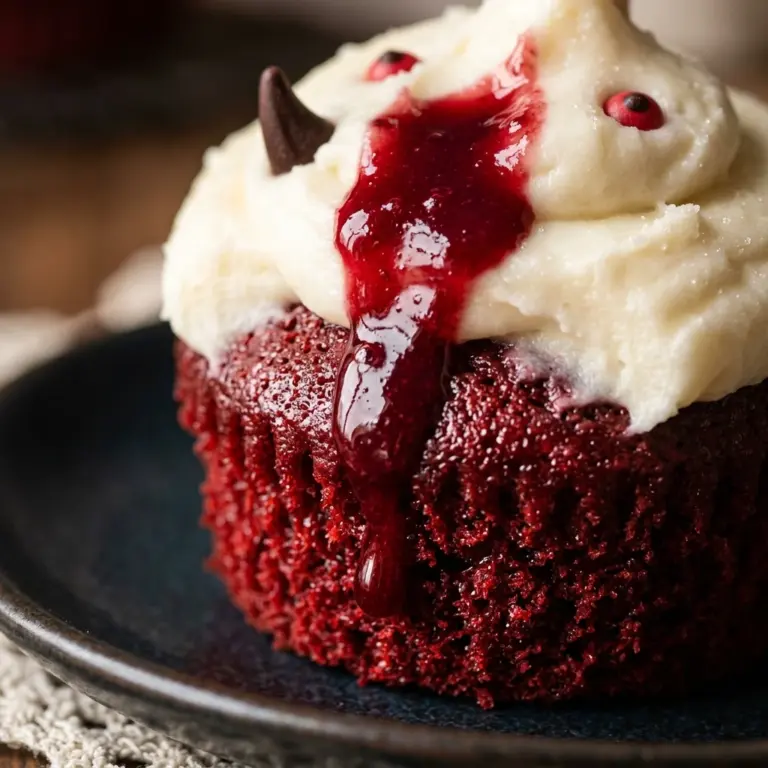
The magic of this recipe lies in the contrast between the snow-white cream cheese frosting and the bright red “blood” punctures. Whether you are hosting a costume party or just want a festive weekend project, these cupcakes offer a delicious balance of mild chocolate flavor and tangy sweetness. Get ready to sink your teeth into a dessert that is as fun to look at as it is to eat!
Recipe Information
- Prep Time: 25 minutes
- Cook Time: 20 minutes
- Total Time: 45 minutes
- Servings: 12
- Difficulty Level: Medium
Nutrition Information
- Calories per serving: 385 kcal
- Protein: 4g
- Carbohydrates: 48g
- Fat: 20g
- Fiber: 1g
- Sugar: 36g
- Sodium: 290mg
Why Make This Spooky Red Velvet Vampire Cupcakes Recipe
This recipe is a must-try because it perfectly captures the spirit of Halloween without requiring professional decorating skills. The “vampire bite” effect is incredibly simple to achieve using a toothpick and some fruit preserves, yet it looks professionally made. It is a fantastic way to bring a bit of drama to your dessert table while serving a flavor profile that is a universal crowd-pleaser.
Beyond the looks, the texture of these cupcakes is exceptional. By using buttermilk and a touch of vinegar, the crumb remains incredibly moist and tender. Paired with a rich, velvety cream cheese frosting, these cupcakes offer a sophisticated taste that goes far beyond your average store-bought holiday treats.
How to Make Spooky Red Velvet Vampire Cupcakes Recipe
Making these spooky treats is a straightforward process that involves baking a moist red velvet base, whipping up a smooth frosting, and adding the iconic vampire bite marks using a few simple tools.
Ingredients
- 1 1/2 cups all-purpose flour
- 1 cup granulated sugar
- 1 teaspoon baking soda
- 1 teaspoon salt
- 1 teaspoon cocoa powder
- 3/4 cup vegetable oil
- 1/2 cup buttermilk (room temperature)
- 1 large egg (room temperature)
- 1 tablespoon red food coloring
- 1/2 teaspoon white distilled vinegar
- 1 teaspoon vanilla extract
- 8 oz cream cheese (softened)
- 1/2 cup unsalted butter (softened)
- 3 cups powdered sugar
- 1/4 cup seedless raspberry or strawberry jam (for the “blood”)
Directions
Step 1: Preparation and Preheating
Start by preheating your oven to 350°F (175°C). Line a 12-cup muffin tin with paper liners. This ensures your cupcakes don’t stick and makes cleanup much easier later on.
Step 2: Mixing Dry Ingredients
In a medium-sized mixing bowl, whisk together the flour, sugar, baking soda, salt, and cocoa powder. Sifting the cocoa powder is a good idea to prevent any small lumps from staying in the batter.
Step 3: Combining Wet Ingredients
In a separate large bowl, whisk together the vegetable oil, buttermilk, egg, red food coloring, vinegar, and vanilla extract. Ensure the red color is evenly distributed so your cupcakes have that iconic deep red glow.
Step 4: Creating the Batter
Slowly add the dry ingredients into the wet ingredients. Whisk by hand or use an electric mixer on low speed until just combined. Be careful not to overmix, as this can make the cupcakes tough instead of fluffy.
Step 5: Baking the Cupcakes
Divide the batter evenly among the 12 cupcake liners. Bake for 18 to 20 minutes, or until a toothpick inserted into the center comes out clean. Transfer the cupcakes to a wire rack and let them cool completely before frosting.
Step 6: Making the Frosting
While the cupcakes cool, beat the softened cream cheese and butter together until smooth and creamy. Gradually add the powdered sugar and a teaspoon of vanilla, beating until the frosting is light and fluffy.
Step 7: Decorating and “Bites”
Pipe or spread a generous amount of frosting onto each cooled cupcake. Using a toothpick or a small straw, poke two “vampire bite” holes into the top of the frosting. Warm the raspberry jam slightly in the microwave for 10 seconds, then use a small spoon or a piping bag to drizzle a tiny bit into each hole, letting it “bleed” down the white frosting.
How to Serve Spooky Red Velvet Vampire Cupcakes Recipe
Place these cupcakes on a dark platter or a silver tray to make the red “blood” stand out. They look fantastic when surrounded by other Halloween decor like plastic spiders or faux cobwebs. For the best experience, serve them at room temperature so the cream cheese frosting is soft and the cake is moist.
How to Store Spooky Red Velvet Vampire Cupcakes Recipe
Because of the cream cheese frosting, these cupcakes should be stored in an airtight container in the refrigerator. They will stay fresh for up to 3 to 4 days. If you need to stack them, wait until the frosting has chilled and firmed up, or use a container deep enough to keep the lids from touching the “vampire bites.”
Expert Tips for Perfect Spooky Red Velvet Vampire Cupcakes Recipe
For the brightest red color, use gel food coloring instead of liquid; it provides a more intense hue without thinning the batter. Also, make sure your cream cheese and butter are truly at room temperature to avoid a lumpy frosting. If your jam is too thick to “bleed,” add a drop of water or lemon juice to thin it out to the perfect consistency.
Delicious Variations
If you want a different flavor profile, you can fill the center of the cupcake with the jam before frosting for an extra “bloody” surprise. For a more intense chocolate flavor, use dark cocoa powder. You can also swap the raspberry jam for a cherry tart filling or even a red-tinted white chocolate ganache for a richer finish.
Frequently Asked Questions
Q: Can I use a boxed red velvet cake mix instead?
Yes, you can certainly use a boxed mix to save time. Just follow the package directions for the cupcakes and then use our frosting and decorating steps to achieve the vampire look.
Q: What if I don’t have buttermilk?
You can make a quick substitute by adding 1/2 tablespoon of lemon juice or white vinegar to 1/2 cup of regular milk. Let it sit for 5 minutes before using it in the recipe.
Q: My frosting is too runny, how do I fix it?
If the frosting is too soft, add more powdered sugar half a cup at a time. You can also pop it in the fridge for 15 minutes to help it firm up before piping.
Q: How do I get the “blood” to look realistic?
Using a seedless jam is key for a smooth look. Warm it slightly so it flows naturally, and try to place the “bites” slightly off-center for a more dramatic, creepy effect.
Q: Can I freeze these cupcakes?
Yes, you can freeze the unfrosted cupcakes for up to 3 months. Once they are frosted and decorated with jam, freezing is not recommended as the jam may bleed into the frosting during thawing.
Conclusion
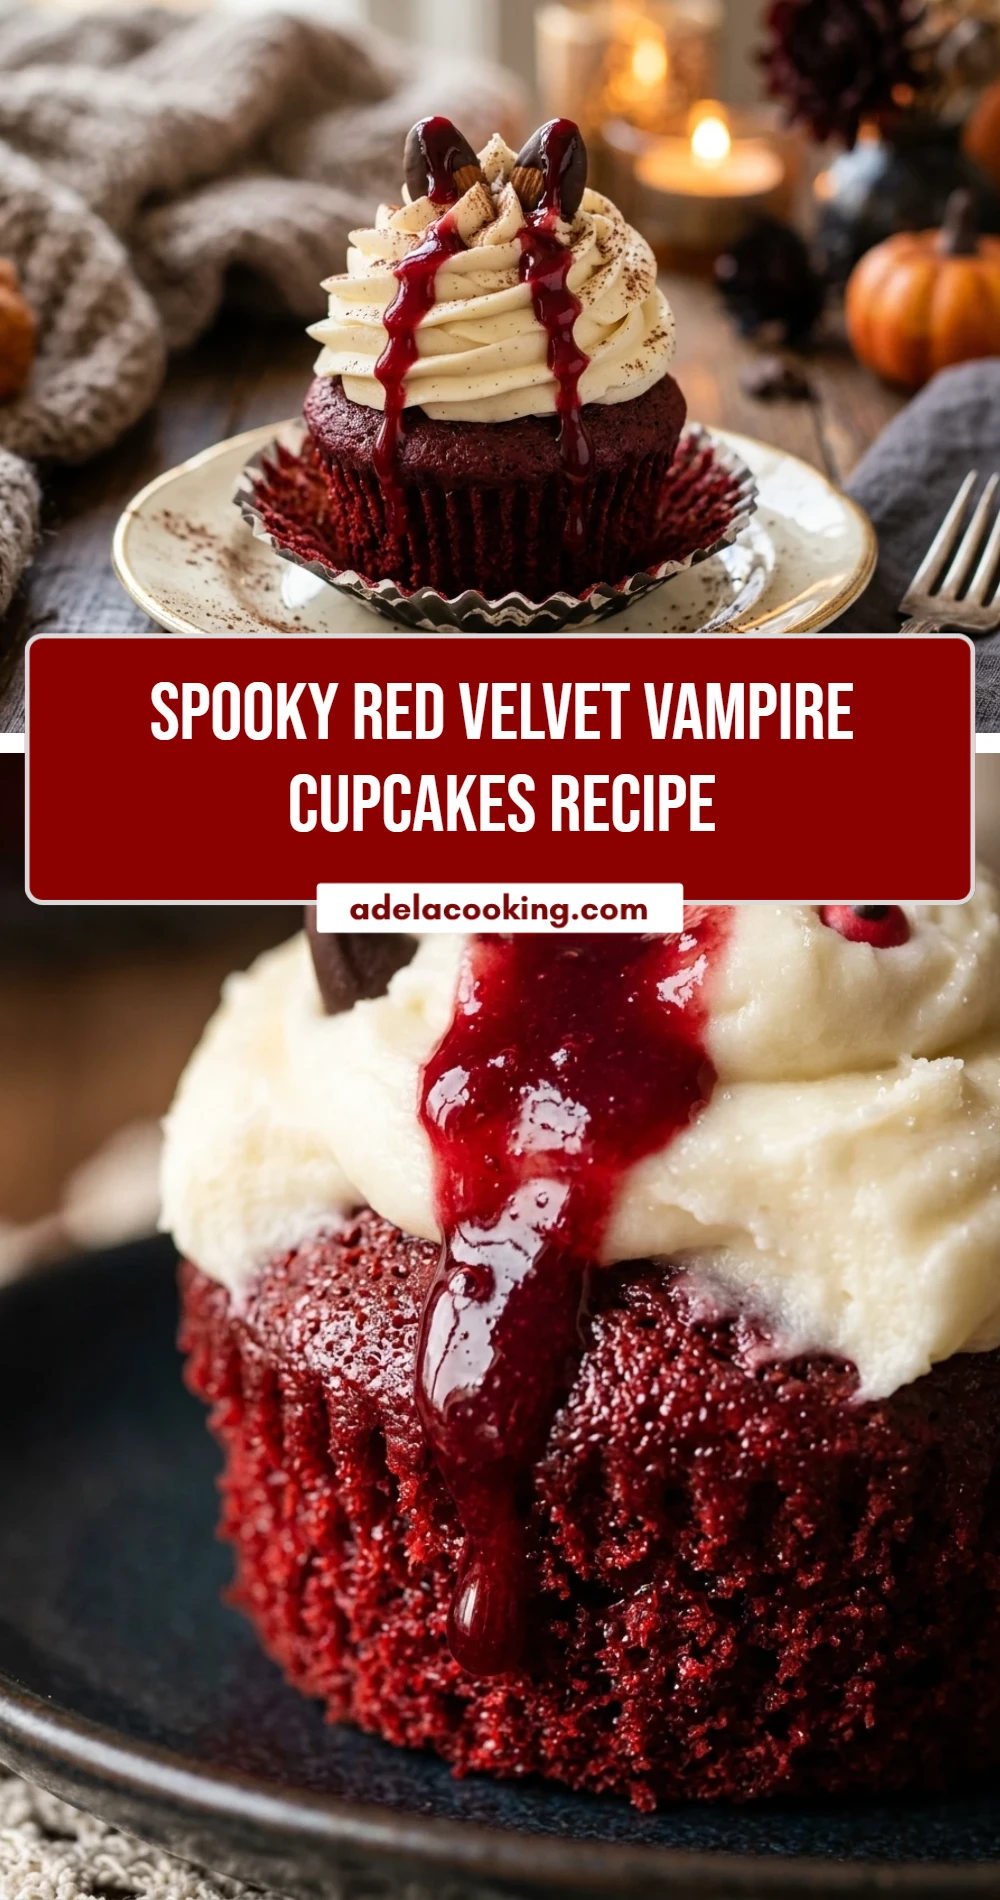
These Spooky Red Velvet Vampire Cupcakes are the ultimate Halloween treat. They are visually striking, incredibly delicious, and surprisingly easy to put together. By following these steps, you will create a dessert that is the perfect mix of trick and treat. Enjoy the compliments you’ll receive when guests see these “bleeding” delights on your dessert table!
Spooky Red Velvet Vampire Cupcakes Recipe
- Total Time: 45 minutes
Ingredients
- 1 1/2 cups all-purpose flour
- 1 cup granulated sugar
- 1 teaspoon baking soda
- 1 teaspoon salt
- 1 teaspoon cocoa powder
- 3/4 cup vegetable oil
- 1/2 cup buttermilk (room temperature)
- 1 large egg (room temperature)
- 1 tablespoon red food coloring
- 1/2 teaspoon white distilled vinegar
- 1 teaspoon vanilla extract
- 8 oz cream cheese (softened)
- 1/2 cup unsalted butter (softened)
- 3 cups powdered sugar
- 1/4 cup seedless raspberry or strawberry jam (for the “blood”)
Instructions
- Start by preheating your oven to 350°F (175°C). Line a 12-cup muffin tin with paper liners. This ensures your cupcakes don’t stick and makes cleanup much easier later on.
- In a medium-sized mixing bowl, whisk together the flour, sugar, baking soda, salt, and cocoa powder. Sifting the cocoa powder is a good idea to prevent any small lumps from staying in the batter.
- In a separate large bowl, whisk together the vegetable oil, buttermilk, egg, red food coloring, vinegar, and vanilla extract. Ensure the red color is evenly distributed so your cupcakes have that iconic deep red glow.
- Slowly add the dry ingredients into the wet ingredients. Whisk by hand or use an electric mixer on low speed until just combined. Be careful not to overmix, as this can make the cupcakes tough instead of fluffy.
- Divide the batter evenly among the 12 cupcake liners. Bake for 18 to 20 minutes, or until a toothpick inserted into the center comes out clean. Transfer the cupcakes to a wire rack and let them cool completely before frosting.
- While the cupcakes cool, beat the softened cream cheese and butter together until smooth and creamy. Gradually add the powdered sugar and a teaspoon of vanilla, beating until the frosting is light and fluffy.
- Pipe or spread a generous amount of frosting onto each cooled cupcake. Using a toothpick or a small straw, poke two “vampire bite” holes into the top of the frosting. Warm the raspberry jam slightly in the microwave for 10 seconds, then use a small spoon or a piping bag to drizzle a tiny bit into each hole, letting it “bleed” down the white frosting.
- Cook Time: 45 minutes
- Diet: Vegetarian