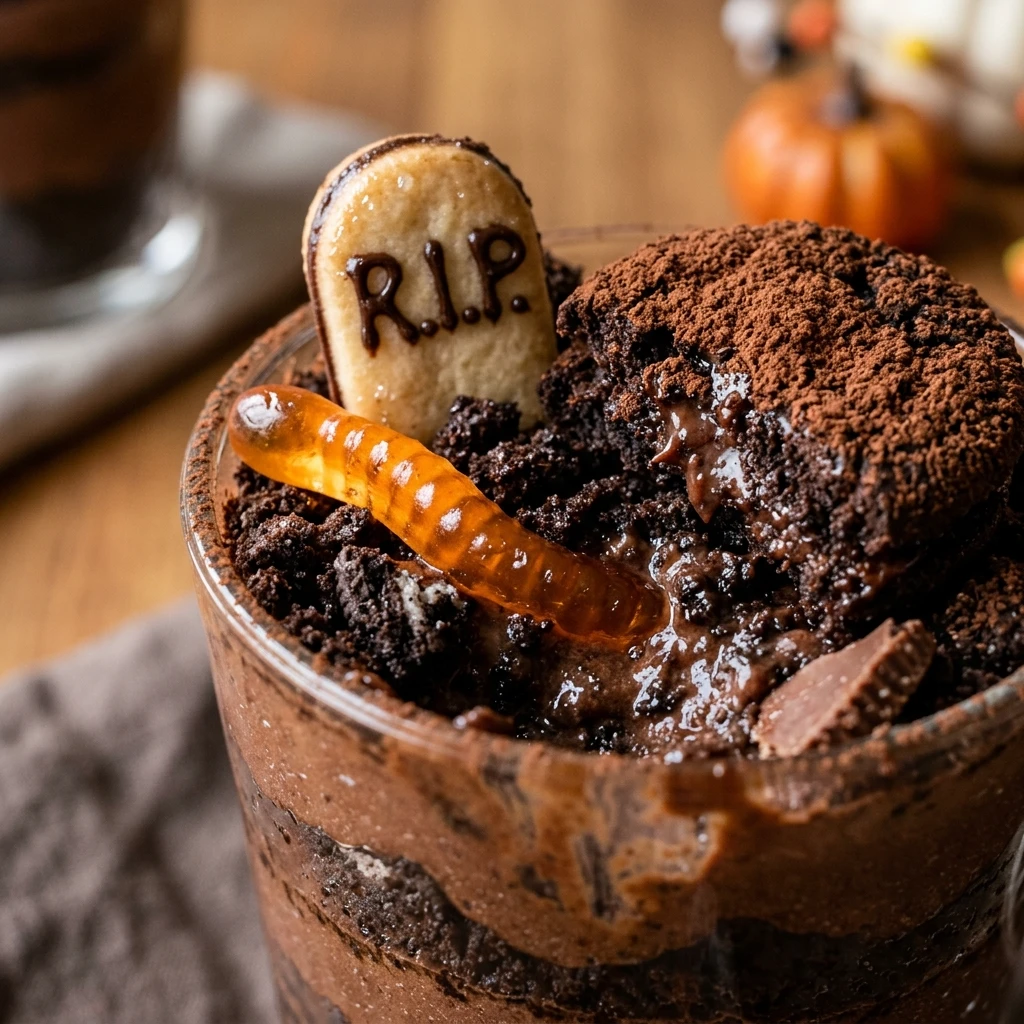

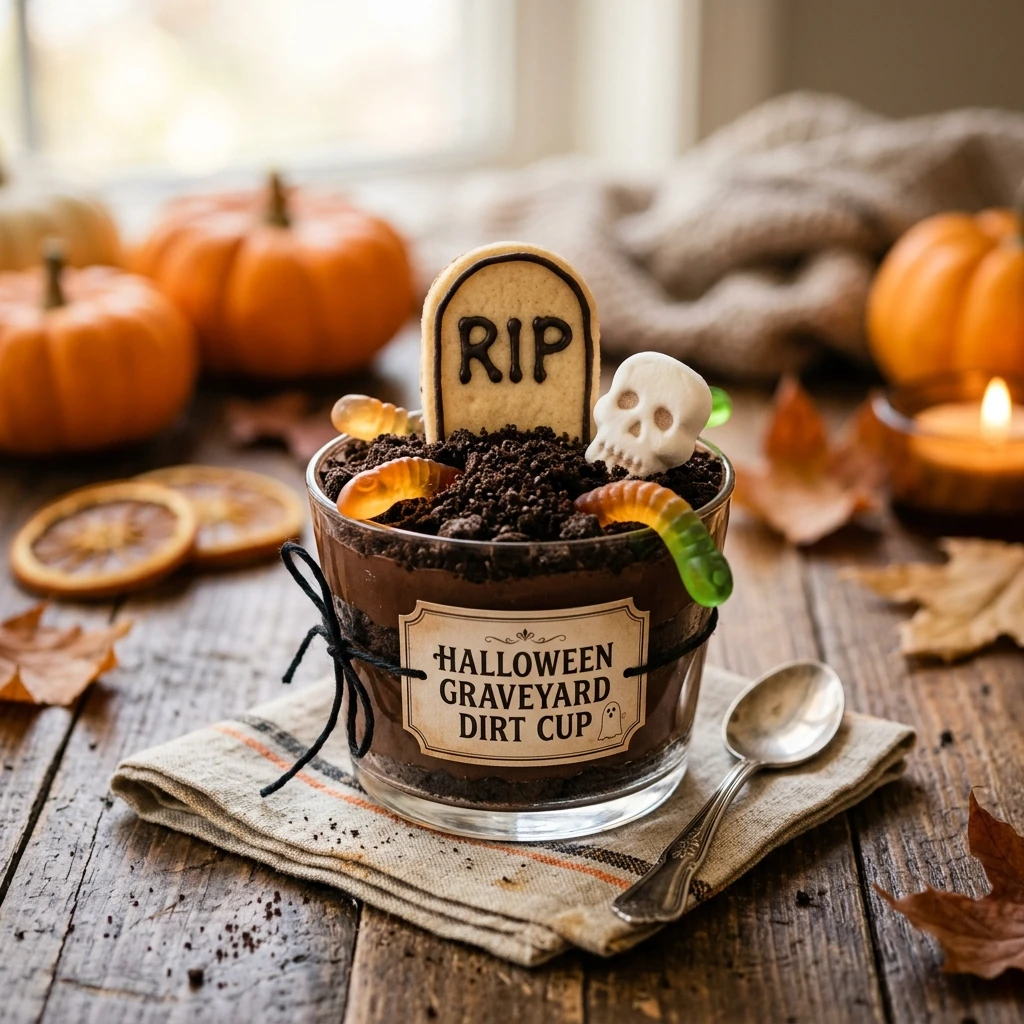
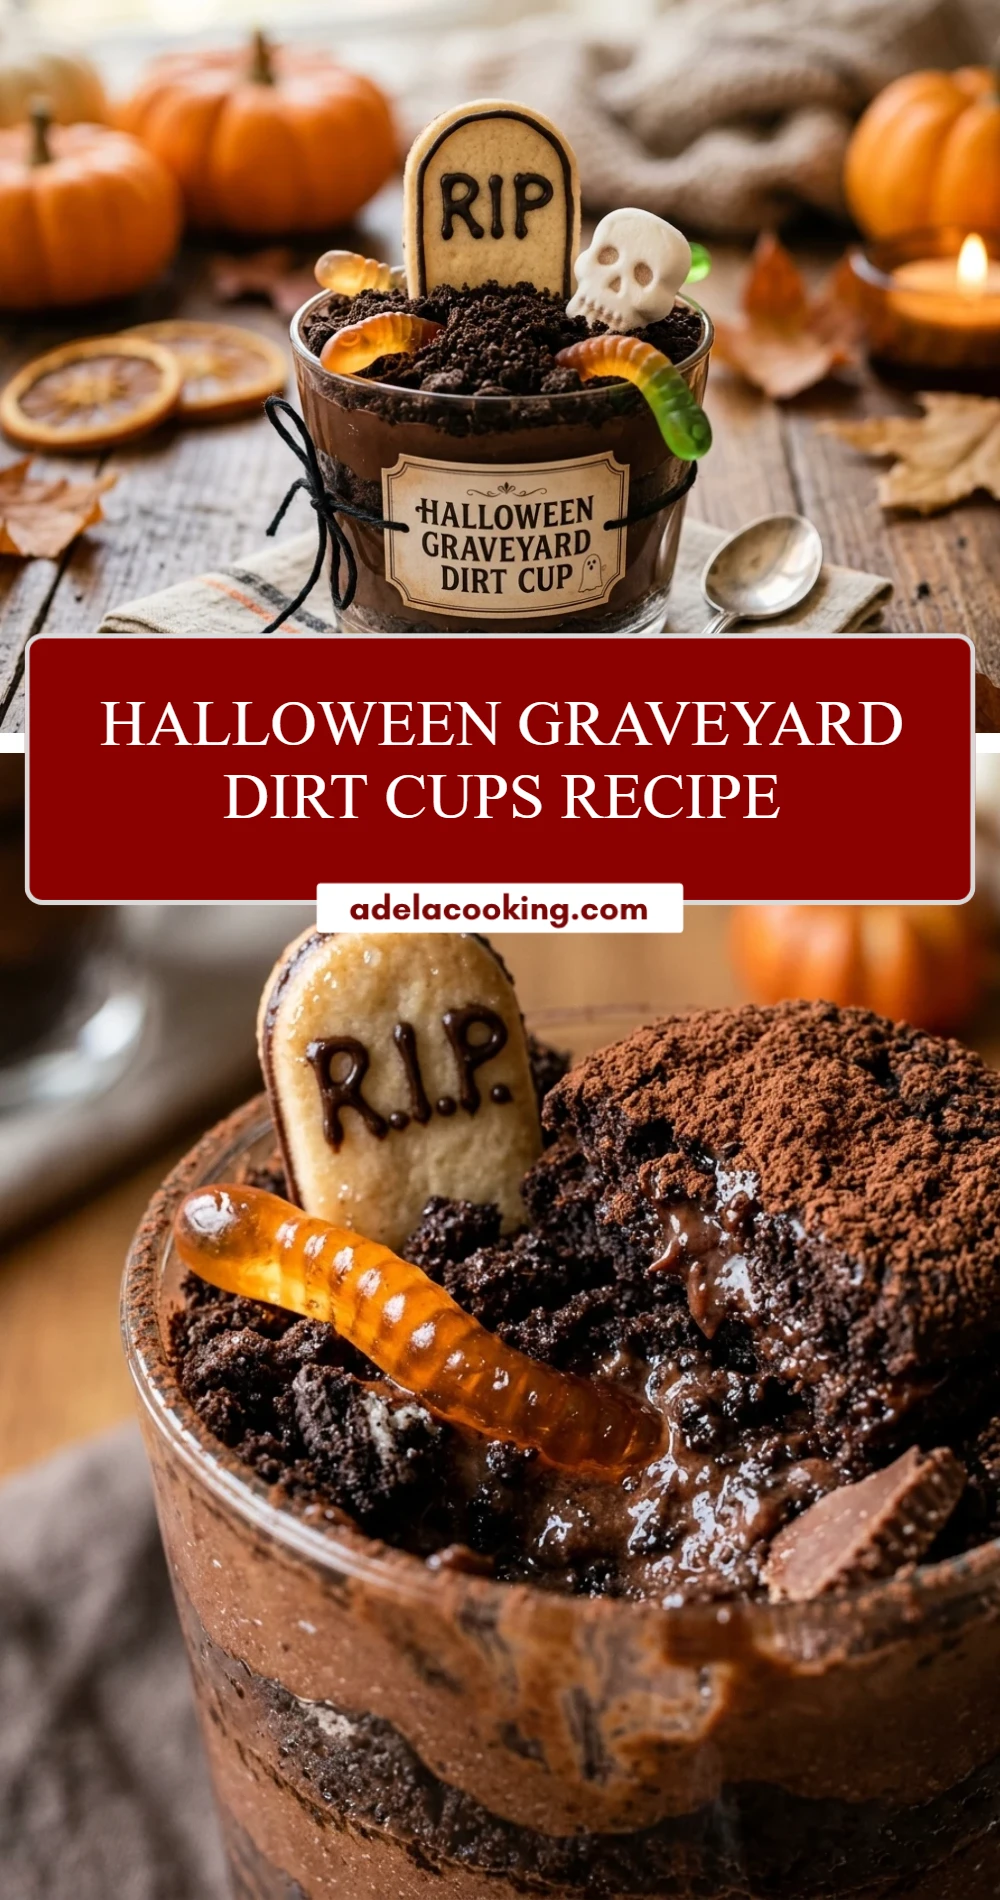
Halloween is the perfect time to get creative in the kitchen with treats that look spooky but taste absolutely delicious. These Halloween Graveyard Dirt Cups are a classic party favorite that combines creamy chocolate pudding with crunchy cookie “dirt.” It is a no-bake dessert that both kids and adults will love, making it a stress-free addition to your October festivities.
Whether you are hosting a haunted house party or just looking for a fun afternoon activity with your children, these dirt cups are a fantastic choice. With edible tombstones and wiggly gummy worms, they create a miniature spooky scene in every individual serving cup. Let’s dive into how you can create these hauntingly tasty treats at home.
Recipe Information
- Prep Time: 20 minutes
- Cook Time: 0 minutes
- Total Time: 20 minutes
- Servings: 6 servings
- Difficulty Level: Easy
Nutrition Information
- Calories per serving: 340 kcal
- Protein: 5g
- Carbohydrates: 58g
- Fat: 11g
- Fiber: 2g
- Sugar: 42g
- Sodium: 410mg
Why Make This Halloween Graveyard Dirt Cups Recipe
This recipe is a must-have for Halloween because it requires absolutely no oven time. When you are busy decorating the house or preparing costumes, having a quick and easy dessert option is a lifesaver. The ingredients are simple and budget-friendly, yet the final result looks like it came from a professional bakery.
Beyond the convenience, these dirt cups are highly interactive. You can set up a “decorating station” where guests or kids can add their own gummy worms, candy pumpkins, and tombstones. It is a wonderful way to spark creativity and ensure everyone gets a dessert tailored to their spooky preferences.
How to Make Halloween Graveyard Dirt Cups Recipe
Making these spooky treats is as simple as layering a few tasty components and letting your imagination run wild with the decorations.
Ingredients
- 2 cups cold milk (whole or 2%)
- 1 package (3.9 ounces) instant chocolate pudding mix
- 1 container (8 ounces) whipped topping, thawed
- 1 package (14.3 ounces) chocolate sandwich cookies (like Oreos)
- 6-12 rectangular biscuits or oval cookies (for tombstones)
- 1 tube black decorating gel or melted chocolate
- 1 pack gummy worms
- 1 pack pumpkin-shaped candies
Directions
Step 1: Crush the Cookies
Place the chocolate sandwich cookies in a large plastic zip-top bag. Use a rolling pin or the back of a large spoon to crush them into fine crumbs. These will serve as the “dirt” for your graveyard. Set aside a small bowl of crumbs for the final topping.
Step 2: Mix the Pudding
In a large mixing bowl, whisk together the cold milk and the instant chocolate pudding mix for about two minutes. The mixture should begin to thicken. Let it sit for five minutes to firm up completely.
Step 3: Fold in the Whipped Topping
Gently fold the thawed whipped topping into the chocolate pudding using a spatula. Mix until the color is uniform and there are no white streaks left. This creates a light, mousse-like texture that is much airier than plain pudding.
Step 4: Prepare the Tombstones
Take your rectangular biscuits or oval cookies and use the black decorating gel or melted chocolate to write “RIP” or draw small crosses on the upper half. Let them sit for a few minutes so the gel can set slightly before you place them in the cups.
Step 5: Assemble the Layers
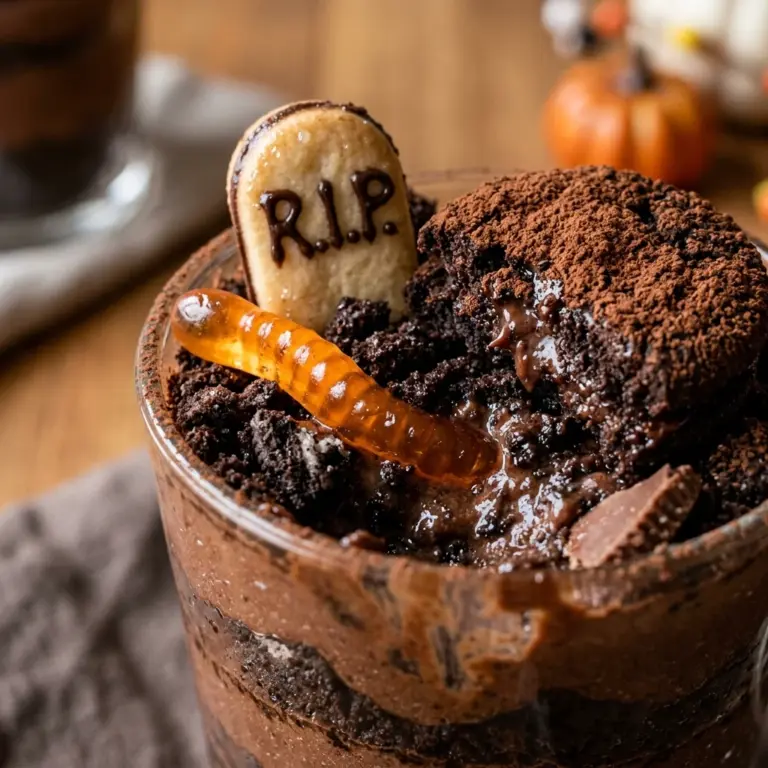
Spoon a layer of the pudding mixture into the bottom of six clear plastic cups. Sprinkle a generous layer of cookie crumbs over the pudding. Repeat the layers until the cups are nearly full, finishing with a thick layer of cookie “dirt” on top.
Step 6: Decorate the Graveyard
Press one decorated tombstone cookie into the back of each cup so it stands upright. Arrange gummy worms “crawling” out of the dirt and place a candy pumpkin near the tombstone. Your spooky graveyard is now ready!
How to Serve Halloween Graveyard Dirt Cups Recipe
Serve these cups chilled for the best texture. Since they are individually portioned, they are perfect for a dessert table. You can place them on a dark tray or a wooden board to enhance the graveyard theme. If you want to go the extra mile, sprinkle some green shredded coconut around the base of the cups to look like toxic grass.
How to Store Halloween Graveyard Dirt Cups Recipe
Store any leftover dirt cups in the refrigerator. Cover each cup tightly with plastic wrap to keep the pudding from drying out and the cookies from getting too soft. They will stay fresh for up to 2 days. Note that the cookie tombstones may soften over time, so it is best to add those right before serving if you are making the pudding base in advance.
Expert Tips for Perfect Halloween Graveyard Dirt Cups Recipe
For the best “dirt” texture, try to get a mix of fine crumbs and slightly larger chunks to mimic real soil. If you find your tombstones are falling over, push them deeper into the pudding layer for better support. To make the cups look even spookier, you can stir a little bit of green food coloring into the whipped topping before folding it into the pudding to create a “swampy” look.
Delicious Variations
If you prefer a different flavor, try using vanilla pudding with orange food coloring for a bright Halloween glow. You can also swap the chocolate sandwich cookies for graham cracker crumbs to make a “sandy” beach graveyard. For an adult version, you can add a splash of Irish cream or coffee liqueur to the pudding mixture before it sets.
Frequently Asked Questions
Q: Can I use homemade pudding instead of instant?
A: Yes! Homemade chocolate pudding works perfectly. Just make sure it is completely cooled before folding in the whipped topping and assembling the cups.
Q: How do I keep the cookies from getting soggy?
A: The cookies will naturally soften as they sit against the pudding. If you prefer a crunch, assemble the cups and add the cookie crumbs just before you plan to serve them.
Q: Can I make this recipe dairy-free?
A: You can use a dairy-free pudding mix, almond or oat milk (use less milk than the package calls for to ensure it sets), and a non-dairy whipped topping.
Q: What other candies can I use for decoration?
A: You can use candy bones, marshmallow ghosts, or even edible silver sprinkles to look like tiny pebbles in your graveyard.
Q: Can I make one large graveyard instead of individual cups?
A: Absolutely! You can layer the ingredients in a large glass trifle bowl or a 9×13 inch baking dish for a “family-style” graveyard dessert.
Conclusion
Halloween Graveyard Dirt Cups are a whimsical and delicious way to celebrate the spooky season. They are simple to prepare, require no cooking, and offer a great opportunity for kids to get involved in the kitchen. With their creamy chocolate base and fun decorations, these treats are sure to be the highlight of your Halloween party. Enjoy your spooky snacking!
Halloween Graveyard Dirt Cups Recipe
- Total Time: 20 minutes
Ingredients
- 2 cups cold milk (whole or 2%)
- 1 package (3.9 ounces) instant chocolate pudding mix
- 1 container (8 ounces) whipped topping, thawed
- 1 package (14.3 ounces) chocolate sandwich cookies (like Oreos)
- 6–12 rectangular biscuits or oval cookies (for tombstones)
- 1 tube black decorating gel or melted chocolate
- 1 pack gummy worms
- 1 pack pumpkin-shaped candies
Instructions
- Step 1: Crush the Cookies: Place the chocolate sandwich cookies in a large plastic zip-top bag. Use a rolling pin or the back of a large spoon to crush them into fine crumbs. These will serve as the “dirt” for your graveyard. Set aside a small bowl of crumbs for the final topping.
- Step 2: Mix the Pudding: In a large mixing bowl, whisk together the cold milk and the instant chocolate pudding mix for about two minutes. The mixture should begin to thicken. Let it sit for five minutes to firm up completely.
- Step 3: Fold in the Whipped Topping: Gently fold the thawed whipped topping into the chocolate pudding using a spatula. Mix until the color is uniform and there are no white streaks left. This creates a light, mousse-like texture that is much airier than plain pudding.
- Step 4: Prepare the Tombstones: Take your rectangular biscuits or oval cookies and use the black decorating gel or melted chocolate to write “RIP” or draw small crosses on the upper half. Let them sit for a few minutes so the gel can set slightly before you place them in the cups.
- Step 5: Assemble the Layers: Spoon a layer of the pudding mixture into the bottom of six clear plastic cups. Sprinkle a generous layer of cookie crumbs over the pudding. Repeat the layers until the cups are nearly full, finishing with a thick layer of cookie “dirt” on top.
- Step 6: Decorate the Graveyard: Press one decorated tombstone cookie into the back of each cup so it stands upright. Arrange gummy worms “crawling” out of the dirt and place a candy pumpkin near the tombstone. Your spooky graveyard is now ready!
- Cook Time: 20 minutes
- Diet: Vegetarian