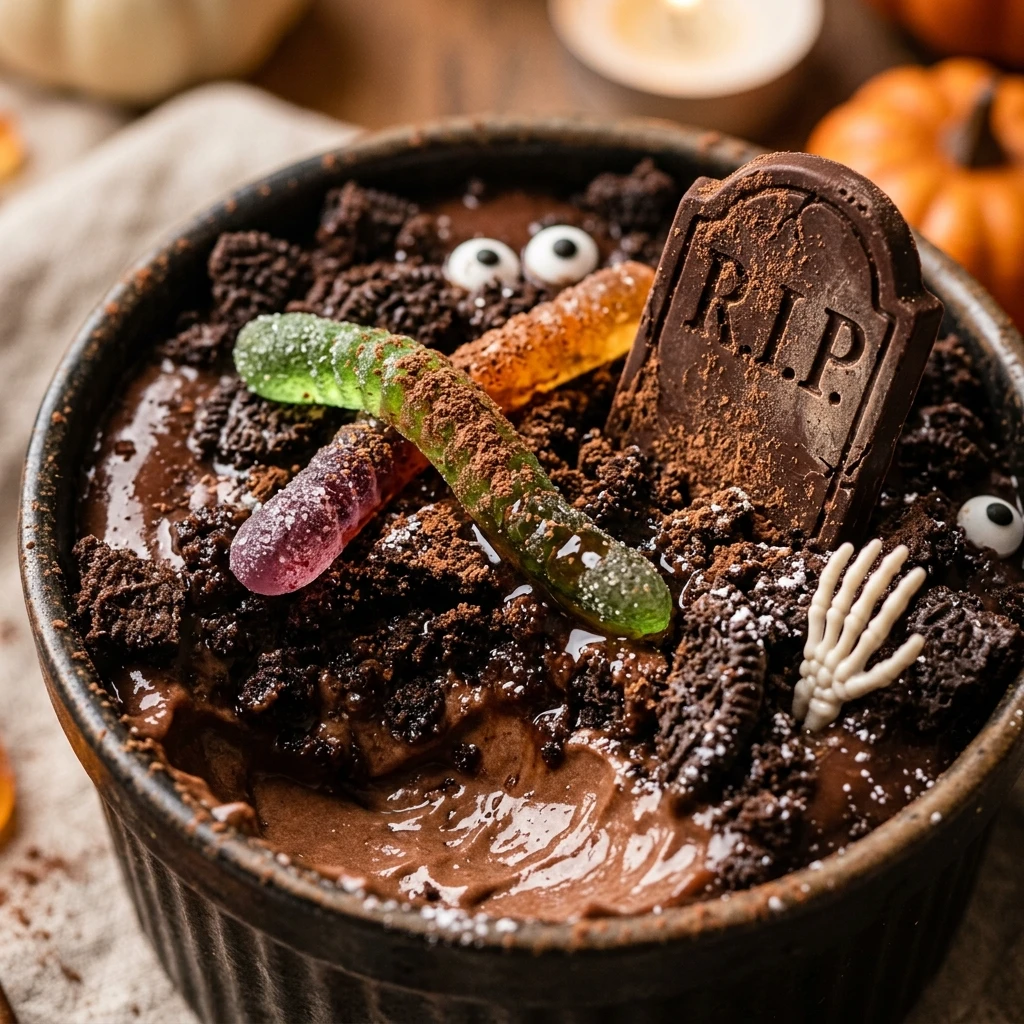

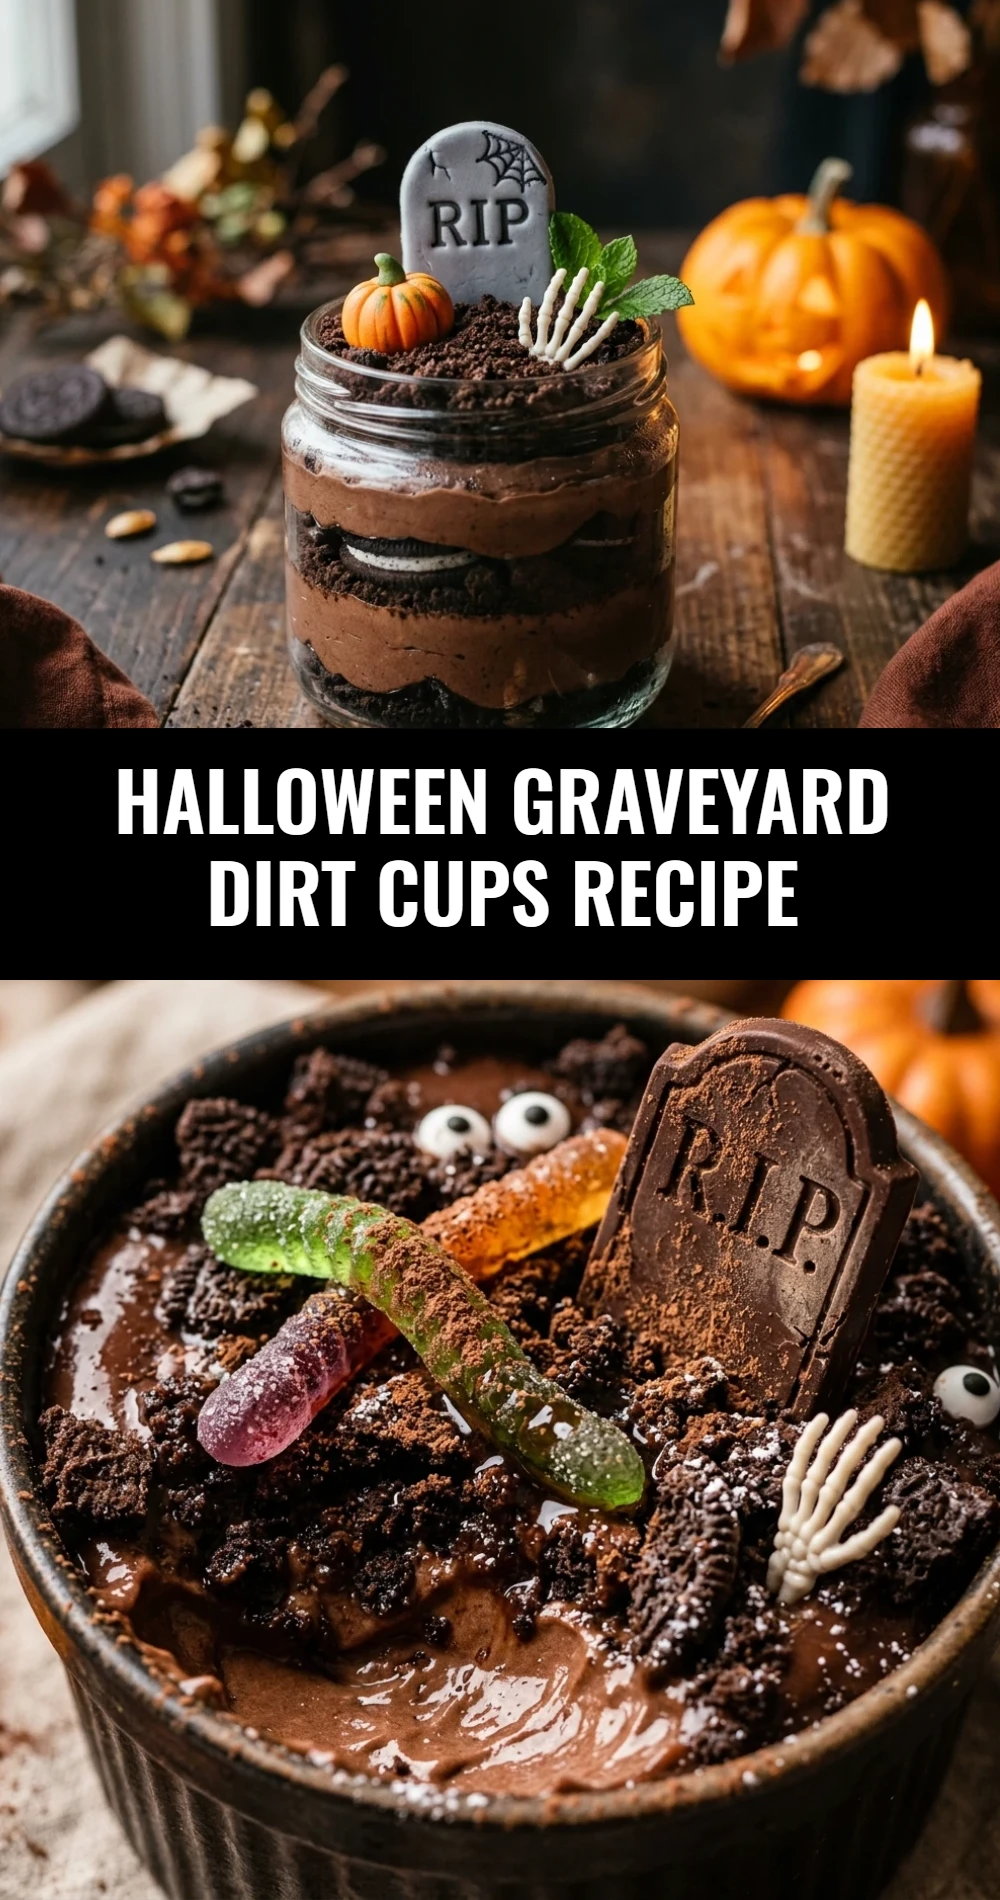
Get ready to bring some spooky fun to your dessert table with these Halloween Graveyard Dirt Cups. This classic treat is a crowd-pleaser for both kids and adults alike. It combines creamy chocolate pudding with crunchy cookie “dirt” for a texture that is simply irresistible. Whether you are hosting a big costume party or just want a festive snack for the family, these cups are the perfect solution.
The beauty of this recipe lies in its simplicity. With no baking required and plenty of room for creativity, it is a fantastic activity for little kitchen helpers. You can customize your “graveyard” with all sorts of creepy treats to make it your own. Let’s dive into how you can make this hauntingly delicious dessert in just a few easy steps.
Recipe Information
- Prep Time: 20 minutes
- Cook Time: 0 minutes
- Total Time: 20 minutes
- Servings: 6
- Difficulty Level: Easy
Nutrition Information
- Calories per serving: 310 kcal
- Protein: 4g
- Carbohydrates: 52g
- Fat: 11g
- Fiber: 1g
- Sugar: 38g
- Sodium: 380mg
Why Make This Halloween Graveyard Dirt Cups Recipe
This recipe is a holiday staple because it is incredibly high-impact with very low effort. You do not need to turn on the oven, which saves time and keeps the kitchen cool. The visual appeal of the “graveyard” setting makes it a centerpiece dessert that guests will be talking about long after the party ends.
Beyond the looks, the flavor profile is a guaranteed hit. The combination of rich chocolate pudding and the iconic crunch of chocolate sandwich cookies creates a nostalgic taste that everyone loves. Plus, it is completely customizable—you can swap out the candies to suit your preferences or dietary needs.
How to Make Halloween Graveyard Dirt Cups Recipe
Making these spooky treats is a breeze! Simply follow these steps to assemble your mini edible graveyards using basic pantry staples and some festive decorations.
Ingredients
- 1 package (3.9 oz) Instant Chocolate Pudding mix
- 2 cups cold whole milk
- 1 package (14.3 oz) Chocolate sandwich cookies (like Oreos)
- 6-12 Milano cookies (to serve as tombstones)
- 1 package gummy worms
- 1 small bag Mellowcreme pumpkins
- Black decorating gel or melted chocolate (for lettering)
- Optional: Whipped topping or green sprinkles for “grass”
Directions
Step 1: Whisk the Pudding Base
In a medium mixing bowl, whisk together the instant chocolate pudding mix and the cold milk. Continue whisking for about 2 minutes until the mixture begins to thicken. Set the bowl aside or place it in the refrigerator for 5 minutes to firm up completely.
Step 2: Create the Cookie Dirt
Place the chocolate sandwich cookies into a large zip-top bag and seal it tightly. Use a rolling pin or a heavy spoon to crush the cookies until they look like dark, rich soil. You can leave a few larger chunks for “rocks” if you like a bit of extra texture.
Step 3: Prepare the Tombstones
Take your Milano cookies and use the black decorating gel or melted chocolate to write “R.I.P.” or draw small crosses on the top half of each cookie. Let these sit for a minute so the gel sets before you place them in the cups.
Step 4: Layer the Dessert Cups
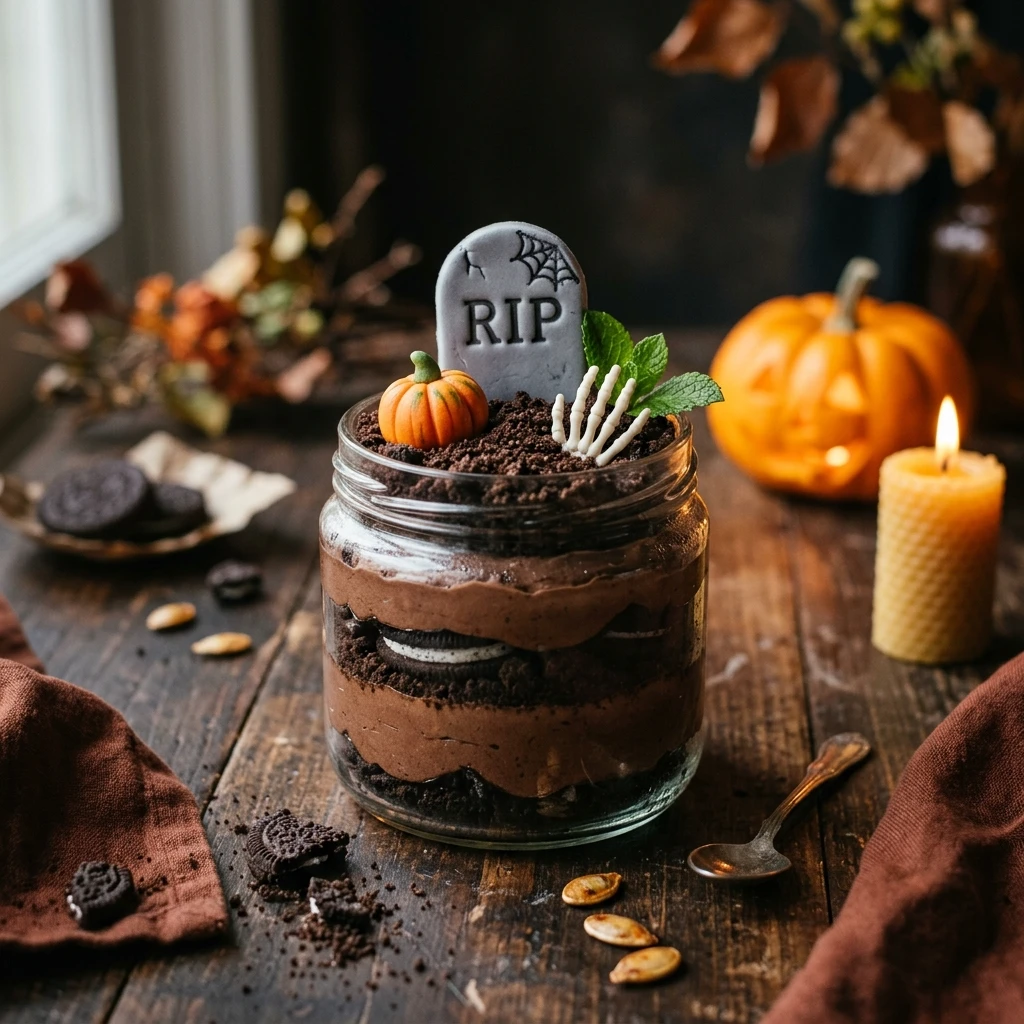
Take six clear plastic cups or small glass jars. Start by spooning a layer of the crushed cookies into the bottom of each cup. Follow this with a generous layer of chocolate pudding. Repeat the layers until the cup is nearly full, finishing with a thick layer of cookie “dirt” on top.
Step 5: Decorate the Graveyard
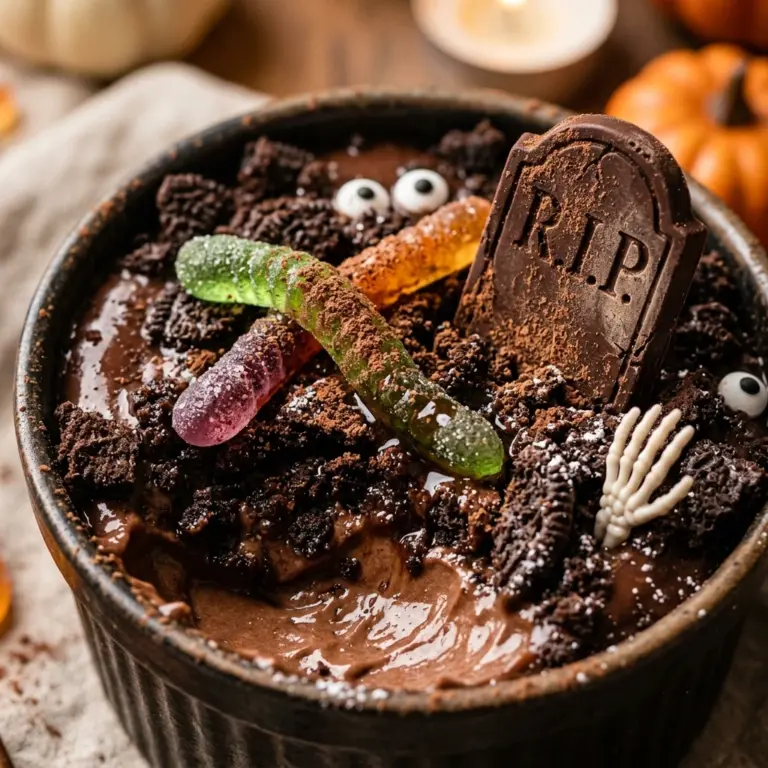
Push one or two Milano “tombstones” into the top of each cup so they stand upright. Tuck a gummy worm into the cookie crumbs so it looks like it is crawling out of the earth. Place a candy pumpkin next to the tombstone to complete the festive Halloween scene.
How to Serve Halloween Graveyard Dirt Cups Recipe
Serve these cups chilled for the best experience. If you are hosting a party, place the cups on a large tray or a wooden board. You can scatter more crushed cookies around the base of the cups and add plastic spiders or skeletons to the tray to enhance the spooky graveyard theme. Providing small wooden spoons or festive orange spoons adds a nice touch.
How to Store Halloween Graveyard Dirt Cups Recipe
You can store these dirt cups in the refrigerator for up to 2 days. However, it is best to wait to add the Milano cookie tombstones and the gummy worms until right before serving. If stored for too long, the cookies used for tombstones can become soft and lose their crunch from the moisture in the pudding.
Expert Tips for Perfect Halloween Graveyard Dirt Cups Recipe
To get the best results, make sure your milk is very cold before mixing it with the pudding; this helps it set faster. If you want a lighter, fluffier texture, you can fold in 1 cup of whipped topping to the pudding once it has set. For the most realistic “dirt,” use a food processor to pulse the cookies into a fine powder, then mix in a few hand-crushed pieces for variety.
Delicious Variations
If you want to try something different, use vanilla pudding and add a few drops of green food coloring to create a “grass” look. You can also use white chocolate sandwich cookies for a “sandy” look if you want a desert-themed graveyard. For an adult twist, you can add a splash of Irish cream or coffee liqueur to the pudding mixture. For a healthier version, use Greek yogurt mixed with cocoa powder instead of instant pudding.
Frequently Asked Questions
Q: Can I use cooked pudding instead of instant?
Yes, you can use cooked pudding, but ensure it is completely cooled to room temperature before layering, or it will make the cookie crumbs soggy immediately.
Q: What can I use if I cannot find Milano cookies?
Rectangular graham crackers or oval-shaped butter cookies work perfectly as alternative tombstones.
Q: How far in advance can I make these?
You can prepare the pudding and crush the cookies up to 24 hours in advance. For the best texture, assemble the layers no more than 4 hours before your event.
Q: Can I make this recipe vegan?
Absolutely! Use a vegan-friendly chocolate pudding mix, substitute the milk with a dairy-free option like almond or soy milk, and ensure your cookies and candies are vegan-certified.
Q: How many cookies should I use per cup?
Generally, 2 to 3 crushed sandwich cookies per cup provide a good balance between the pudding and the “dirt” layers.
Conclusion
Halloween Graveyard Dirt Cups are the ultimate festive treat that combines ease, fun, and flavor. They are the perfect addition to any October celebration, offering a whimsical way to enjoy a classic chocolate dessert. With just a few ingredients and a little imagination, you can create a memorable snack that guests of all ages will love. Happy haunting and enjoy your delicious creation!
Halloween Graveyard Dirt Cups Recipe
- Total Time: 20 minutes
Ingredients
- 1 package (3.9 oz) Instant Chocolate Pudding mix
- 2 cups cold whole milk
- 1 package (14.3 oz) Chocolate sandwich cookies (like Oreos)
- 6–12 Milano cookies (to serve as tombstones)
- 1 package gummy worms
- 1 small bag Mellowcreme pumpkins
- Black decorating gel or melted chocolate (for lettering)
- Optional: Whipped topping or green sprinkles for “grass”
Instructions
- Step 1: Whisk the Pudding Base
In a medium mixing bowl, whisk together the instant chocolate pudding mix and the cold milk. Continue whisking for about 2 minutes until the mixture begins to thicken. Set the bowl aside or place it in the refrigerator for 5 minutes to firm up completely. - Step 2: Create the Cookie Dirt
Place the chocolate sandwich cookies into a large zip-top bag and seal it tightly. Use a rolling pin or a heavy spoon to crush the cookies until they look like dark, rich soil. You can leave a few larger chunks for “rocks” if you like a bit of extra texture. - Step 3: Prepare the Tombstones
Take your Milano cookies and use the black decorating gel or melted chocolate to write “R.I.P.” or draw small crosses on the top half of each cookie. Let these sit for a minute so the gel sets before you place them in the cups. - Step 4: Layer the Dessert Cups
Take six clear plastic cups or small glass jars. Start by spooning a layer of the crushed cookies into the bottom of each cup. Follow this with a generous layer of chocolate pudding. Repeat the layers until the cup is nearly full, finishing with a thick layer of cookie “dirt” on top. - Step 5: Decorate the Graveyard
Push one or two Milano “tombstones” into the top of each cup so they stand upright. Tuck a gummy worm into the cookie crumbs so it looks like it is crawling out of the earth. Place a candy pumpkin next to the tombstone to complete the festive Halloween scene.
- Cook Time: 20 minutes
- Diet: Vegetarian