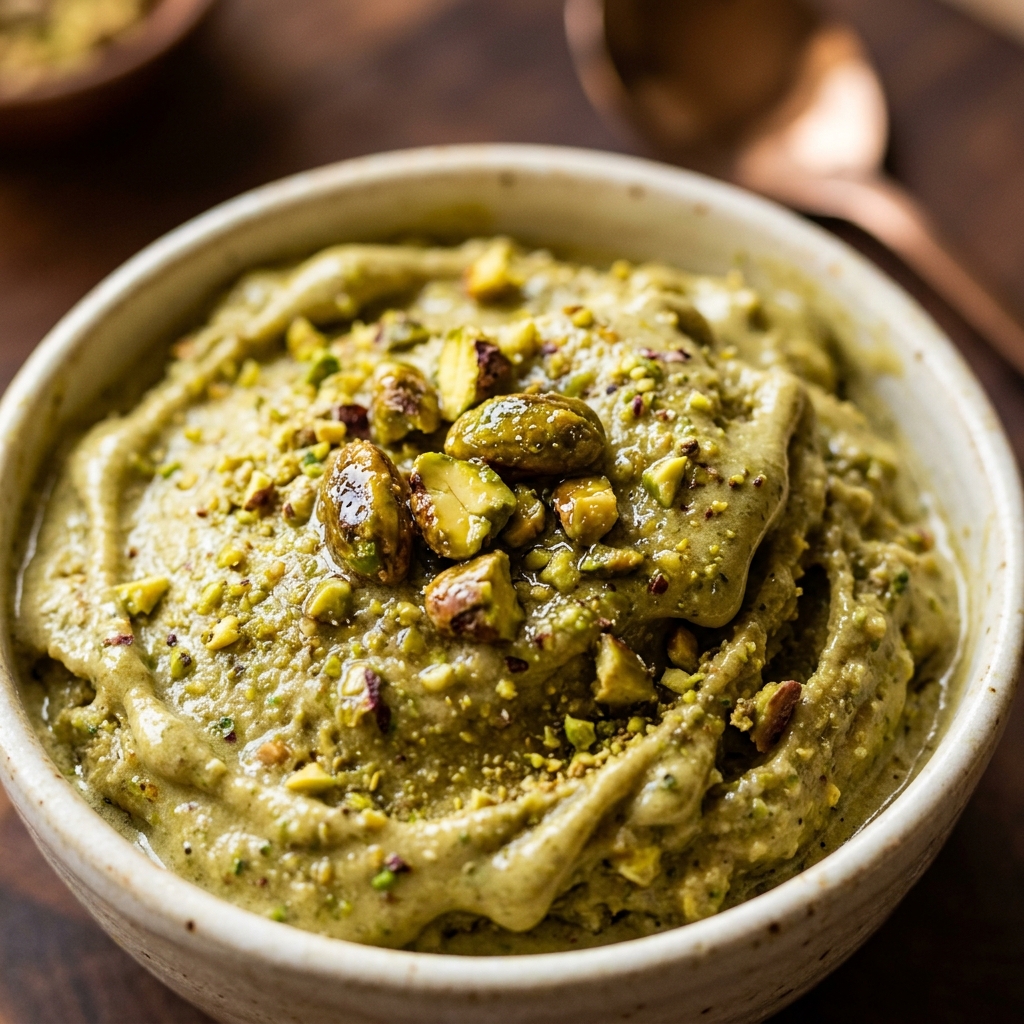

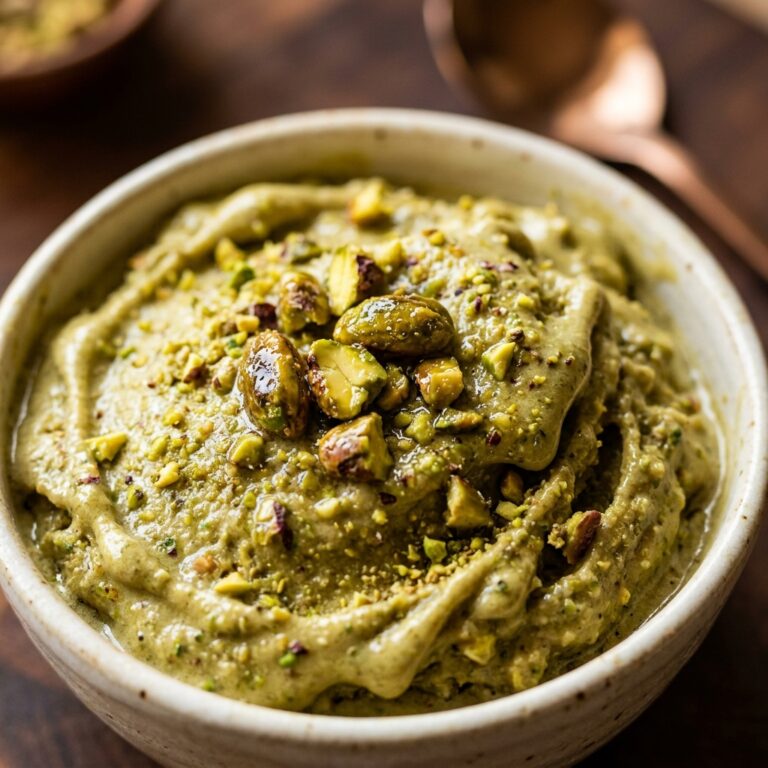
Craving a rich, nutty treat that won’t derail your fitness goals? This Protein Pistachio Ice Cream made in the Ninja Creami is a total game-changer. It has that signature velvety texture and deep pistachio flavor we all love, but with a massive protein boost that makes it a perfect post-workout snack or a guilt-free dessert.
The beauty of the Ninja Creami technology is how it transforms a liquid protein base into a professional-grade gelato consistency. You don’t need a culinary degree or expensive ingredients to achieve this. With just a few pantry staples and a bit of patience while it freezes, you will have a pint of emerald-green goodness that rivals any high-end creamery.
Recipe Information
- Prep Time: 10 minutes
- Cook Time: 24 hours (Freezing time)
- Total Time: 24 hours 10 minutes
- Servings: 2
- Difficulty Level: Easy
Nutrition Information
- Calories per serving: 195
- Protein: 26g
- Carbohydrates: 12g
- Fat: 6g
- Fiber: 2g
- Sugar: 4g
- Sodium: 280mg
Why Make This Protein Pistachio Ice Cream Ninja Creami
Traditional pistachio ice cream is often loaded with sugar and heavy cream. While delicious, it isn’t something most of us can eat every day. This version swaps those heavy ingredients for high-quality protein powder and ultra-filtered milk, giving you a dense, satisfying texture that keeps you full and hits that sweet spot perfectly.
Another reason to love this recipe is the customization. You can control exactly how much “nutty” flavor you want and avoid the artificial dyes found in many store-bought brands. Plus, making it at home is much more cost-effective than buying those expensive “healthy” pints at the grocery store.
How to Make Protein Pistachio Ice Cream Ninja Creami
Making this frozen treat is incredibly simple. It mostly involves a quick whisking session followed by the hardest part: waiting for the base to freeze solid before the Ninja Creami works its magic.
Ingredients
- 1.5 cups Fairlife 2% or skim milk (or milk of choice)
- 1 scoop (approx. 30g) Vanilla protein powder
- 1 tablespoon Sugar-free pistachio instant pudding mix
- 1/4 teaspoon Almond extract (essential for that “classic” pistachio taste)
- 1 pinch Sea salt
- Optional: 2 drops green food coloring
- 2 tablespoons Roasted salted pistachios, crushed (for mix-ins)
Directions
Step 1: Whisking the Base
In a large measuring cup or bowl, combine the milk, protein powder, sugar-free pudding mix, almond extract, and a pinch of salt. Use a handheld milk frother or a small whisk to blend everything together until completely smooth and no clumps remain. Add food coloring now if you want a vibrant green look.
Step 2: Initial Freeze
Pour the mixture into a clean Ninja Creami pint container. Make sure you do not exceed the “max fill” line. Place the lid on the pint and set it on a level surface in your freezer. Let it freeze for at least 24 hours to ensure the blade can process it correctly.
Step 3: The First Spin
Remove the pint from the freezer and take off the lid. Lock the pint into the Ninja Creami outer bowl and assembly. Select the “Lite Ice Cream” function. Once the cycle finishes, check the consistency. If it looks a bit powdery or “crumbly,” don’t worry—that is normal for protein bases.
Step 4: Re-Spin and Mix-In
Add a splash of milk (about 1 tablespoon) to the center of the pint and select the “Re-spin” button. This will make it creamy. Once smooth, use a spoon to create a hole down the center of the ice cream. Pour in your crushed pistachios and select the “Mix-in” function to distribute them evenly.
How to Serve Protein Pistachio Ice Cream Ninja Creami
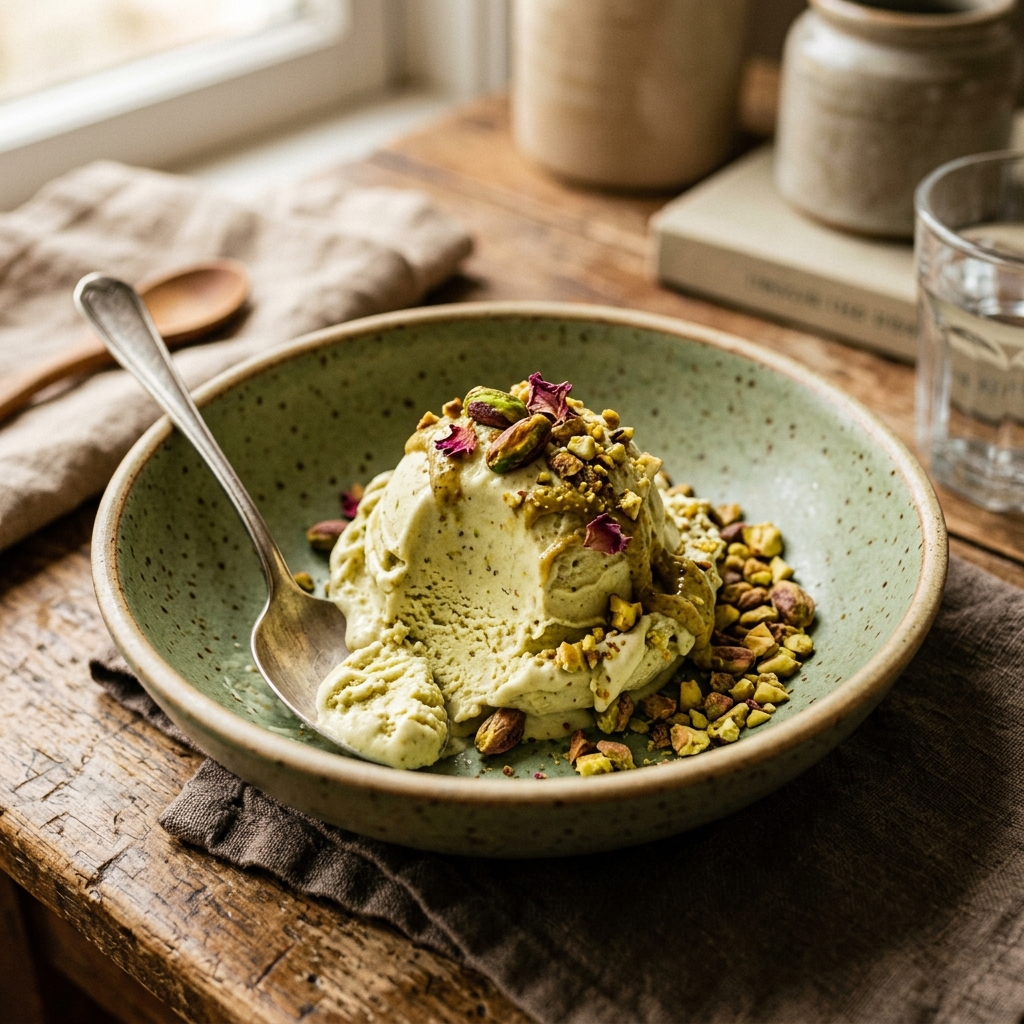
This ice cream is best served immediately while it has that perfect soft-serve consistency. Scoop it into a chilled bowl to keep it from melting too fast. For an extra touch of luxury, drizzle a little bit of honey over the top or add a few extra whole pistachios for crunch. It also pairs beautifully with a square of dark chocolate on the side.
How to Store Protein Pistachio Ice Cream Ninja Creami
If you have leftovers, flatten the top of the ice cream with a spoon and place the lid back on. Store it in the freezer. When you want to eat it again, the ice cream will likely be very hard. You will need to process it on the “Lite Ice Cream” or “Re-spin” setting again to bring back that creamy texture. Avoid letting it melt and refreezing without a re-spin, as it will become icy.
Expert Tips for Perfect Protein Pistachio Ice Cream Ninja Creami
To get the smoothest result, make sure your protein powder is one that you actually like the taste of, as the flavor will intensify when frozen. If you find your ice cream is consistently crumbly, check that your freezer is set to the coldest setting. Also, using a milk with a bit of fat (like 2% Fairlife) helps create a much richer mouthfeel than using water or almond milk alone.
Delicious Variations
Want to switch things up? Try adding a swirl of white chocolate chips during the mix-in stage for a “Pistachio White Chocolate” version. You can also swap the vanilla protein powder for chocolate protein powder to make a rich “Choco-Pistachio” treat. For a vegan-friendly option, use soy milk and a plant-based vanilla protein powder, though the texture may be slightly less creamy.
Frequently Asked Questions
Q: Can I use almond milk instead of Fairlife?
Yes, you can use almond milk, but keep in mind the ice cream will be less creamy and may require two re-spins to reach the desired consistency because it has lower fat and protein content.
Q: Why do I have to wait 24 hours?
The Ninja Creami blade spins at a very high speed. If the base isn’t frozen solid (all the way to the core), it won’t “shave” the ice correctly, resulting in a slushy or liquid mess rather than ice cream.
Q: Does the pudding mix contain sugar?
The recipe calls for sugar-free instant pudding mix, which acts as a stabilizer. If you prefer to avoid it, you can use 1/4 teaspoon of guar gum or xanthan gum, but the pistachio flavor might be slightly milder.
Q: Is almond extract necessary?
While you can skip it, almond extract is what gives pistachio ice cream that iconic “bakery” flavor. Without it, the pistachio flavor can be quite subtle.
Q: My ice cream has a bump in the middle after freezing. Is that okay?
It is common for the liquid to expand and create a “hump” in the middle. For the safety of your machine blade, it is best to scrape that hump flat with a spoon before processing.
Conclusion
This Protein Pistachio Ice Cream for the Ninja Creami proves that you don’t have to sacrifice flavor for nutrition. It is thick, nutty, and incredibly satisfying. Whether you are looking for a high-protein snack or a way to enjoy your favorite gelato flavor at home, this recipe is sure to become a staple in your kitchen. Happy spinning!
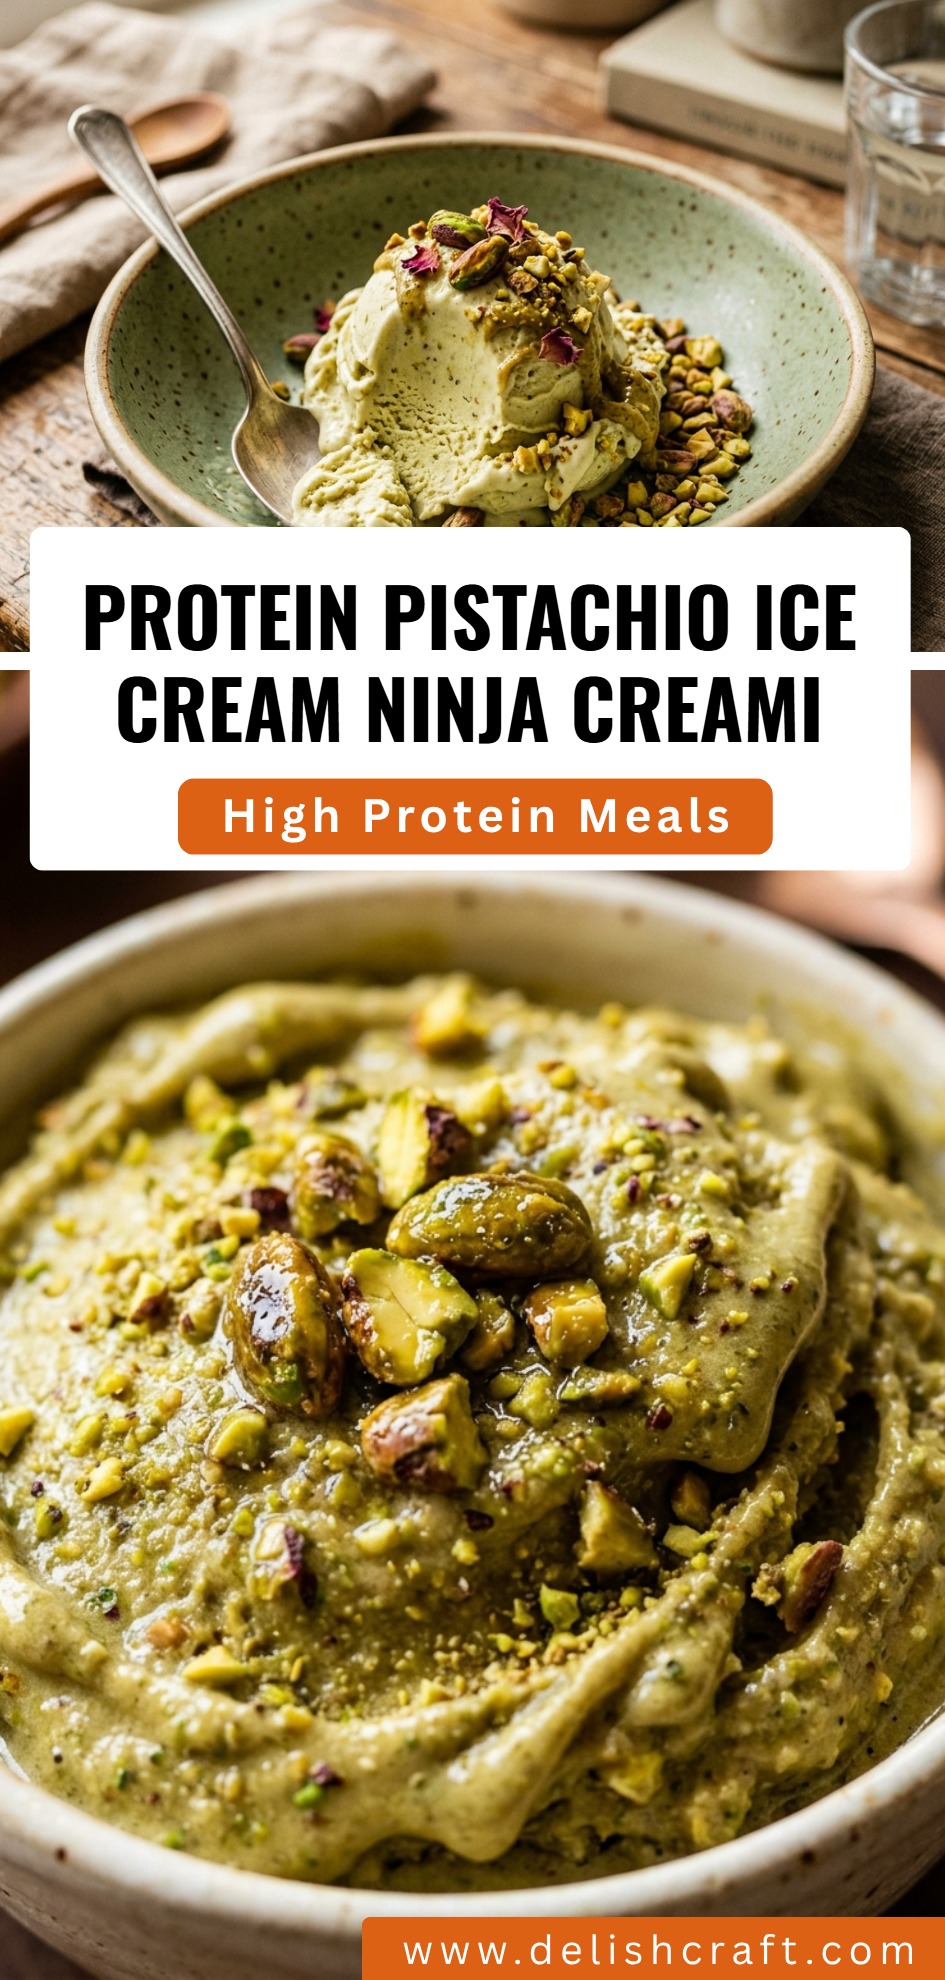
Protein Pistachio Ice Cream Ninja Creami
- Total Time: 24 hours 10 minutes
Ingredients
- 1.5 cups Fairlife 2% or skim milk (or milk of choice)
- 1 scoop (approx. 30g) Vanilla protein powder
- 1 tablespoon Sugar-free pistachio instant pudding mix
- 1/4 teaspoon Almond extract (essential for that “classic” pistachio taste)
- 1 pinch Sea salt
- Optional: 2 drops green food coloring
- 2 tablespoons Roasted salted pistachios, crushed (for mix-ins)
Instructions
- In a large measuring cup or bowl, combine the milk, protein powder, sugar-free pudding mix, almond extract, and a pinch of salt. Use a handheld milk frother or a small whisk to blend everything together until completely smooth and no clumps remain. Add food coloring now if you want a vibrant green look.
- Pour the mixture into a clean Ninja Creami pint container. Make sure you do not exceed the “max fill” line. Place the lid on the pint and set it on a level surface in your freezer. Let it freeze for at least 24 hours to ensure the blade can process it correctly.
- Remove the pint from the freezer and take off the lid. Lock the pint into the Ninja Creami outer bowl and assembly. Select the “Lite Ice Cream” function. Once the cycle finishes, check the consistency. If it looks a bit powdery or “crumbly,” don’t worry—that is normal for protein bases.
- Add a splash of milk (about 1 tablespoon) to the center of the pint and select the “Re-spin” button. This will make it creamy. Once smooth, use a spoon to create a hole down the center of the ice cream. Pour in your crushed pistachios and select the “Mix-in” function to distribute them evenly.
- Cook Time: 24 hours 10 minutes
- Diet: High-Protein, Low-Carb, Vegetarian